Your company
Settings and your team
Manage your profile, your company's name, logo and address, who is in your books and their roles, notifications, billing, API keys, export and deletion.
Settings is where you decide who can open a set of books and what they can do there. It has a page for each part, listed beside it under Workspace, Books, Billing and developers and Account; on a phone, the picker at the top lists them and names the page you are on. Everything in Settings applies to the books you have open, so switch to the right company first.
Change your name, picture and email
Profile shows you the way the people you work with see you: your picture, your name, and the email you sign in with. Each is changed where it stands, and the change shows in every company's books, not only the one you have open.
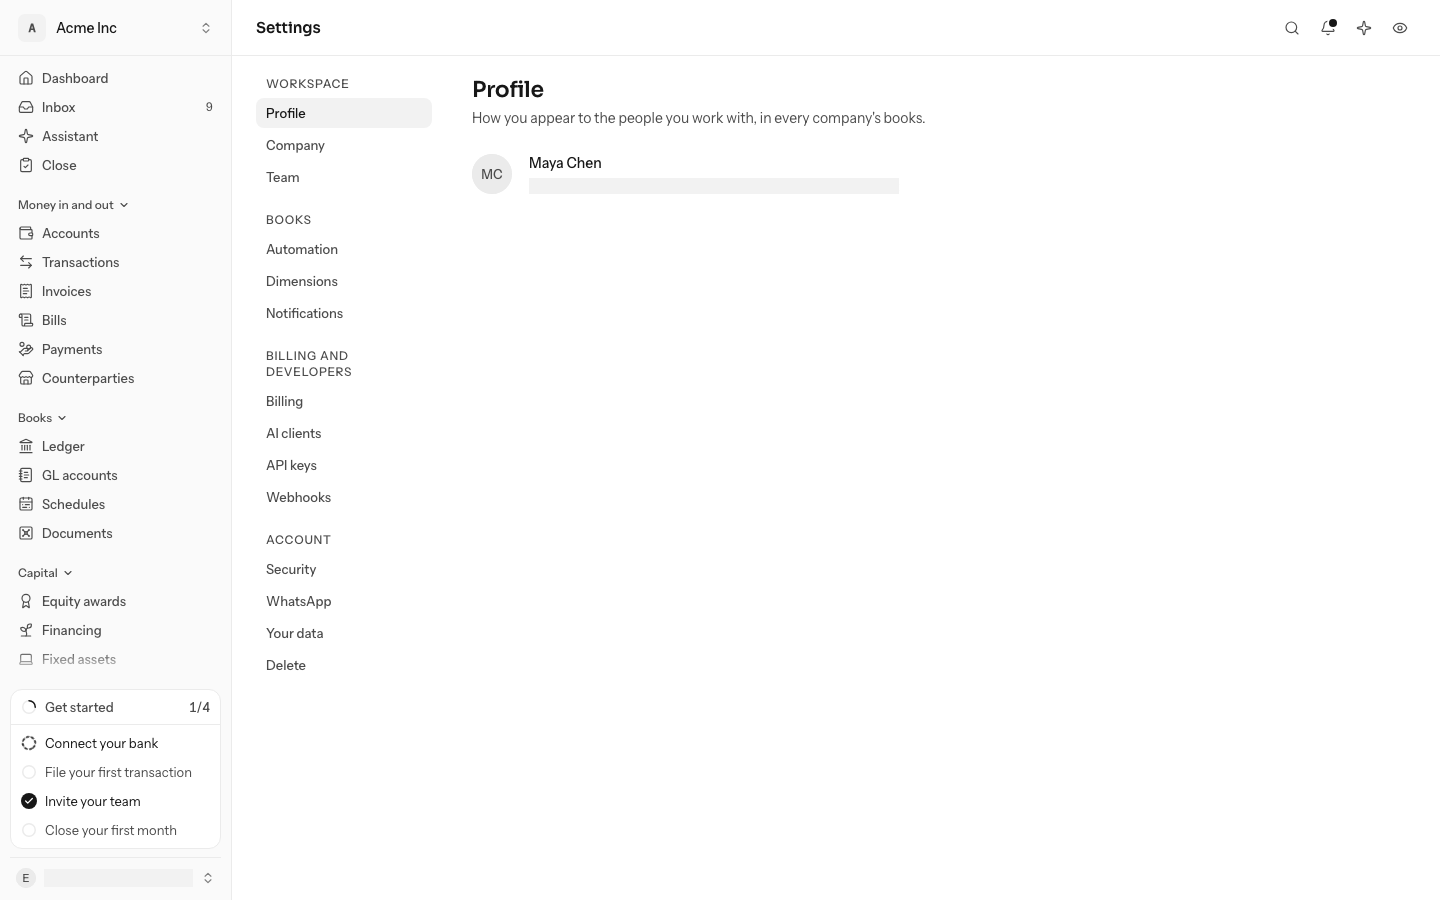
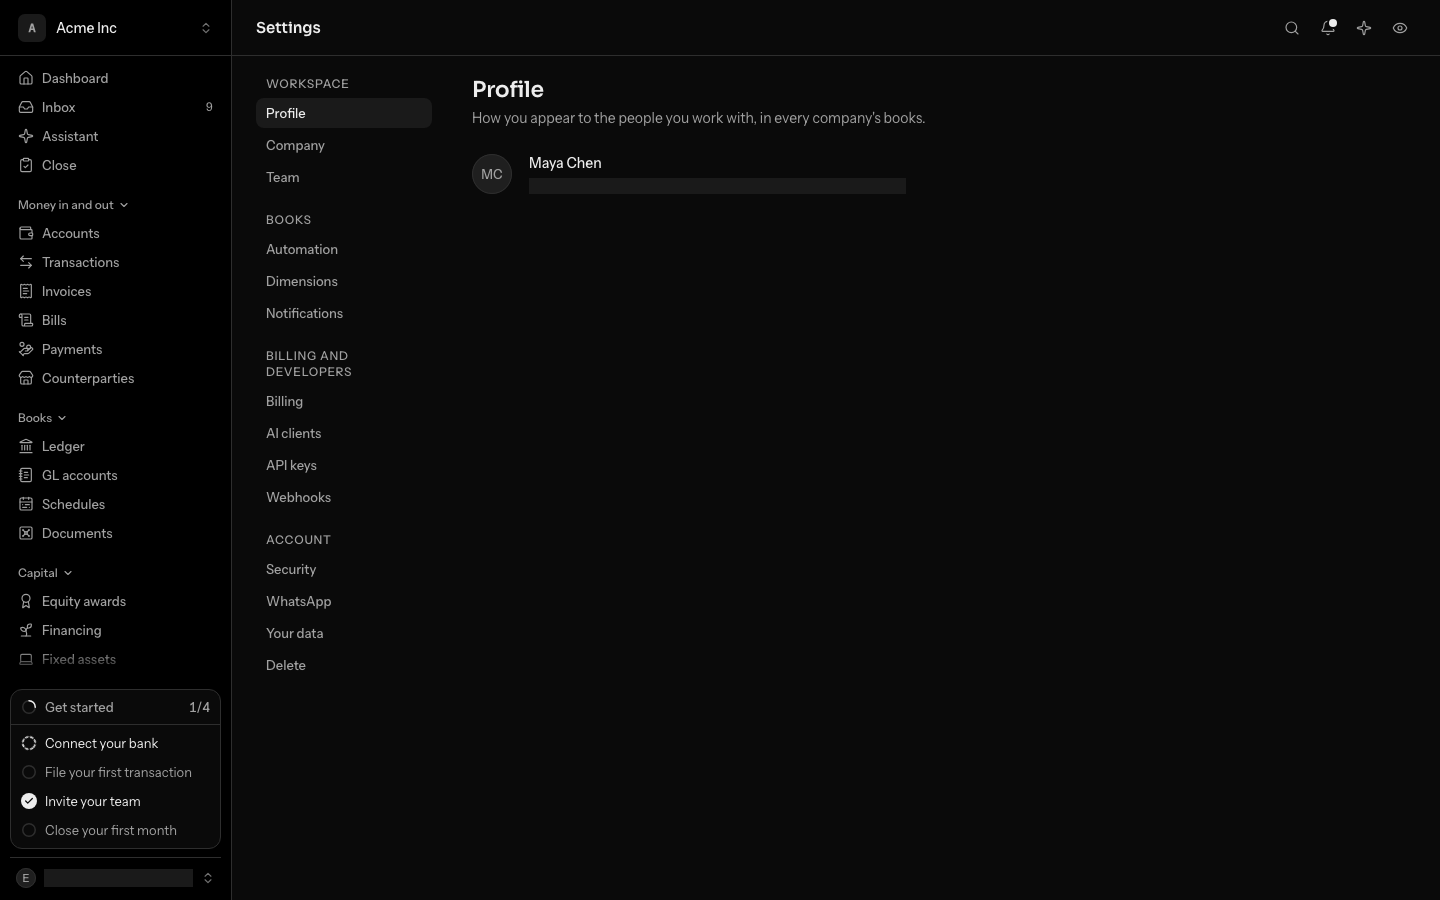
- Change your name: choose the name, type the new one and press Enter. Escape keeps the old name. The new name shows in the sidebar straight away.
- Change your picture: choose the picture, then Upload picture. A square PNG, JPEG or WebP works best; a wide one is cropped to its middle. With a picture already, the menu offers Replace picture and Remove picture, which goes back to your initials.
- Change your email: choose the email, type the new address and press Enter. LedgerIt sends a link to the new address and one to the address you sign in with now; follow both, and you sign in with the new address from then on. Until then the page names the address it is waiting on.
Your profile page under People changes the name and the picture the same way; the email changes only here.
Change the company name, logo and address
Company shows these books the way everyone in them sees them: the logo, the name, and the address under it. Each is changed where it stands.
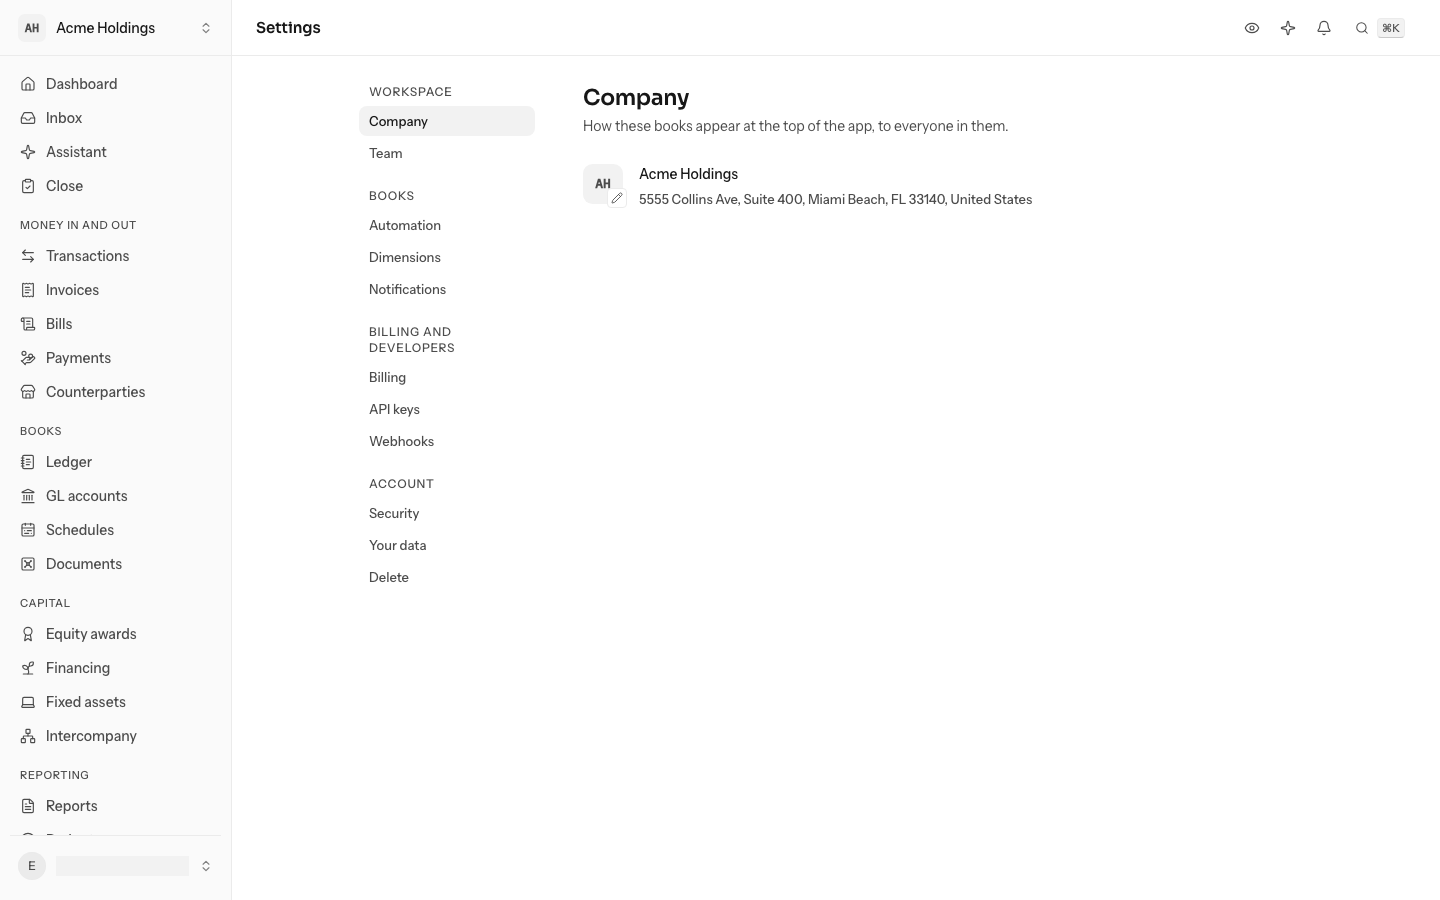
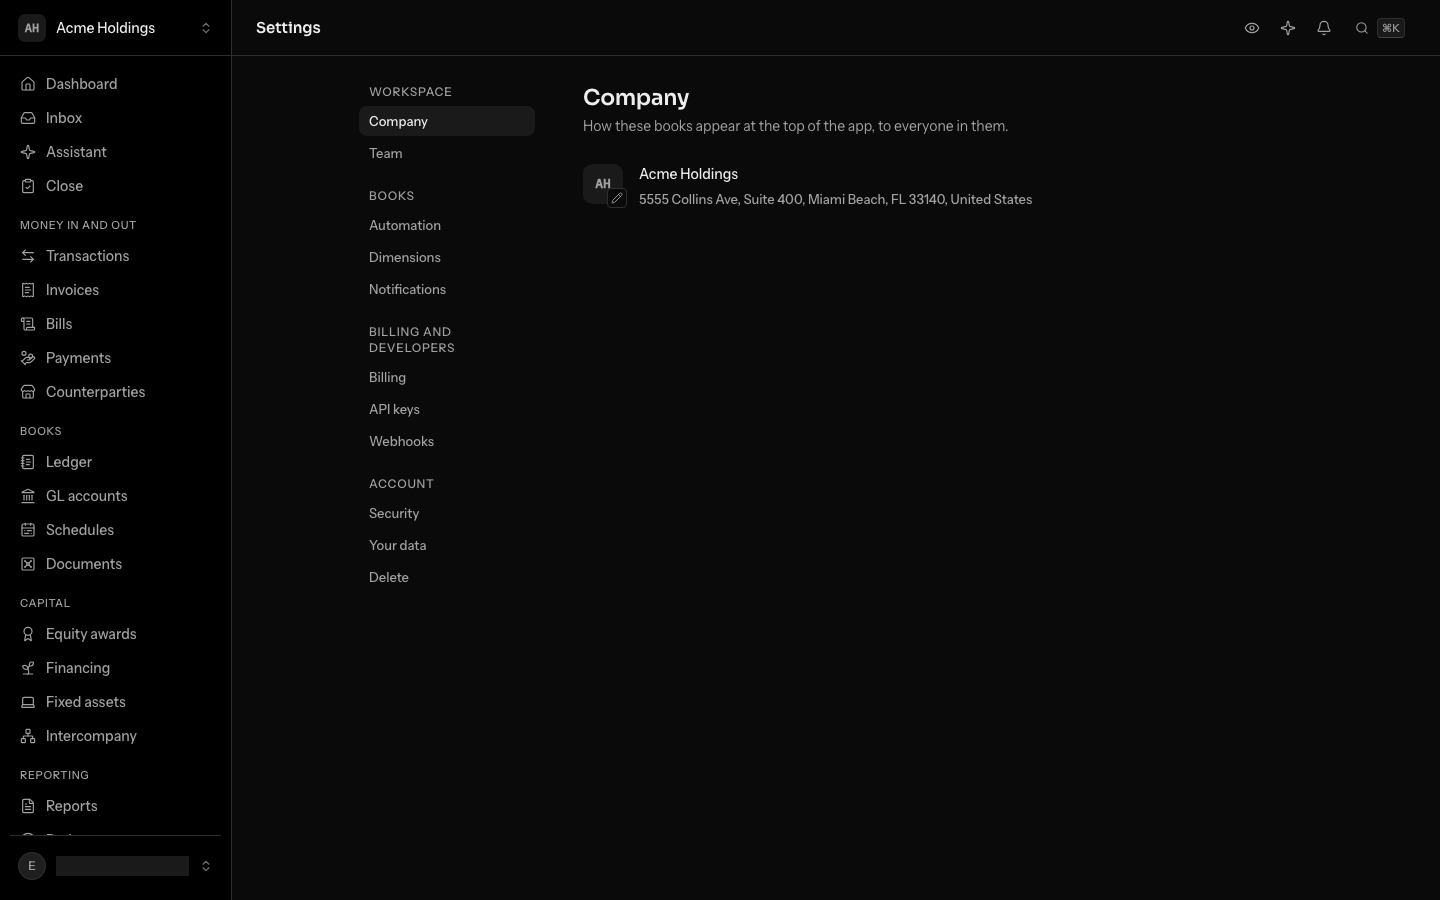
- Rename the books: choose the name, type the new one and press Enter. Escape keeps the old name. The new name shows in the sidebar straight away.
- Change the logo: choose the logo. With none yet, pick a square PNG, JPEG or WebP (a wide image is shrunk to fit). With one, choose Replace logo or Remove logo.
- Edit the address: choose the grey line under the name (Add an address when there is none), fill in the address the company files taxes from and choose Save.
Only admins and owners can change these. Everyone else sees them as they are.
Understand the roles
Every person in a set of books has one role. The role decides what they can do, in these books only.
Read and take part
- May: Read everything in the books
- May: Choose their own notifications
- May: Comment, ask and answer questions
- May: Upload receipts and attach them
Keep the books
- May: Draft journal entries
- May: Post, categorize, reconcile, close, connect
- May: See tax and payroll identifiers whole
Run the company
- May not: Change the company and its logo
- May not: Invite people, change roles, remove them
- May not: Give an accounting firm access
- May not: Set how much is filed automatically
- May not: Approve payments of any amount
- May not: Add a company to the organization
- May not: Share the books with investors
- May not: See the questions asked of the business on Home
Own
- May not: Manage billing
- May not: Hand ownership over
- May not: Delete the books
Accountant: 7 of 18. Can be given an approval limit to approve payments up to an amount.
| Role | What they can do |
|---|---|
| Owner | Everything, including billing and handing ownership over |
| Admin | Everything except billing, ownership and deleting the books |
| Accountant | Posts, reconciles and closes the books |
| Member | Reads the books and drafts entries; posts nothing |
| Viewer | Reads everything, changes nothing |
Each set of books has one owner. A member can draft an entry, but an accountant or higher has to post it into the ledger.
Anyone other than an owner or admin can also be given an approval limit: they may then approve payments up to that amount. See Let someone approve payments.
Tax and payroll identifiers, such as the company's EIN or an employee's social security number in what a payroll provider sent, are shown whole only to owners, admins and accountants. Members and viewers see them masked, with only the last four digits (••-•••6789). LedgerIt's assistant never sees them whole, whoever asks.
Keep several companies
One organization can keep the books of several companies: a parent and its subsidiaries, or sister companies run by the same people. Each company has its own ledger, chart of accounts and reports.
- DKDana Kim (you)All of the organization's booksOwner
- SOSam OrtizAll of the organization's booksAccountant
- LPLee ParkOnly Acme IncNot until added
2 of 3 open it at once, with the role they already have. Lee sees it once added to it.
To add one, open the company menu at the top of the sidebar and choose New book. Give the company's name, then choose:
- Part of your organization, for a subsidiary or a sister company. Only owners and admins see this choice. Everyone with access to all of the organization's books can open the new books at once, with the role they already have. Someone limited to some of its books does not see the new ones until they are added to them.
- A separate company, for books with their own members. Only you can open them until you invite others.
Once an organization keeps more than one company, the company menu lists the books under the organization's name.
Invite someone
Only admins and the owner can invite people or change roles.
- In Settings, open Team and, under Members, choose Invite.
- Enter their Email and pick a Role: admin, accountant, member or viewer. New invitations start on viewer.
- Choose Send invitation.
They get an email and join by signing in with that address. An invitation expires after 14 days. While any are pending, they are listed under Waiting to join, where you can Resend each, or Revoke it from the ⋯ menu at the end of its row. To change a pending invitation's role, revoke it and invite again.
Change a role, remove someone or leave
- To change what someone can do, choose the role beside their name and pick a new one. The owner's role can't be changed this way.
- The owner can choose Make owner in the same menu, on another member, to hand over ownership. The new owner gets full control and you stay on as an admin.
- To take someone out, open the ⋯ menu at the end of their row and choose Remove. They lose access straight away; their past work stays in the audit trail.
- To leave books yourself, open the menu on your own row and choose Leave these books. An owner has to hand ownership to someone else first.
People an accounting firm has assigned to your books show as "via" the firm's name. Their access comes from the firm, so you change it under Accounting firm access, not here. See Work with an accounting firm.
Let someone approve payments
Owners and admins approve payments of any amount. To let someone else approve smaller ones, such as a finance lead who approves vendor payments up to $5,000.00, give them an approval limit:
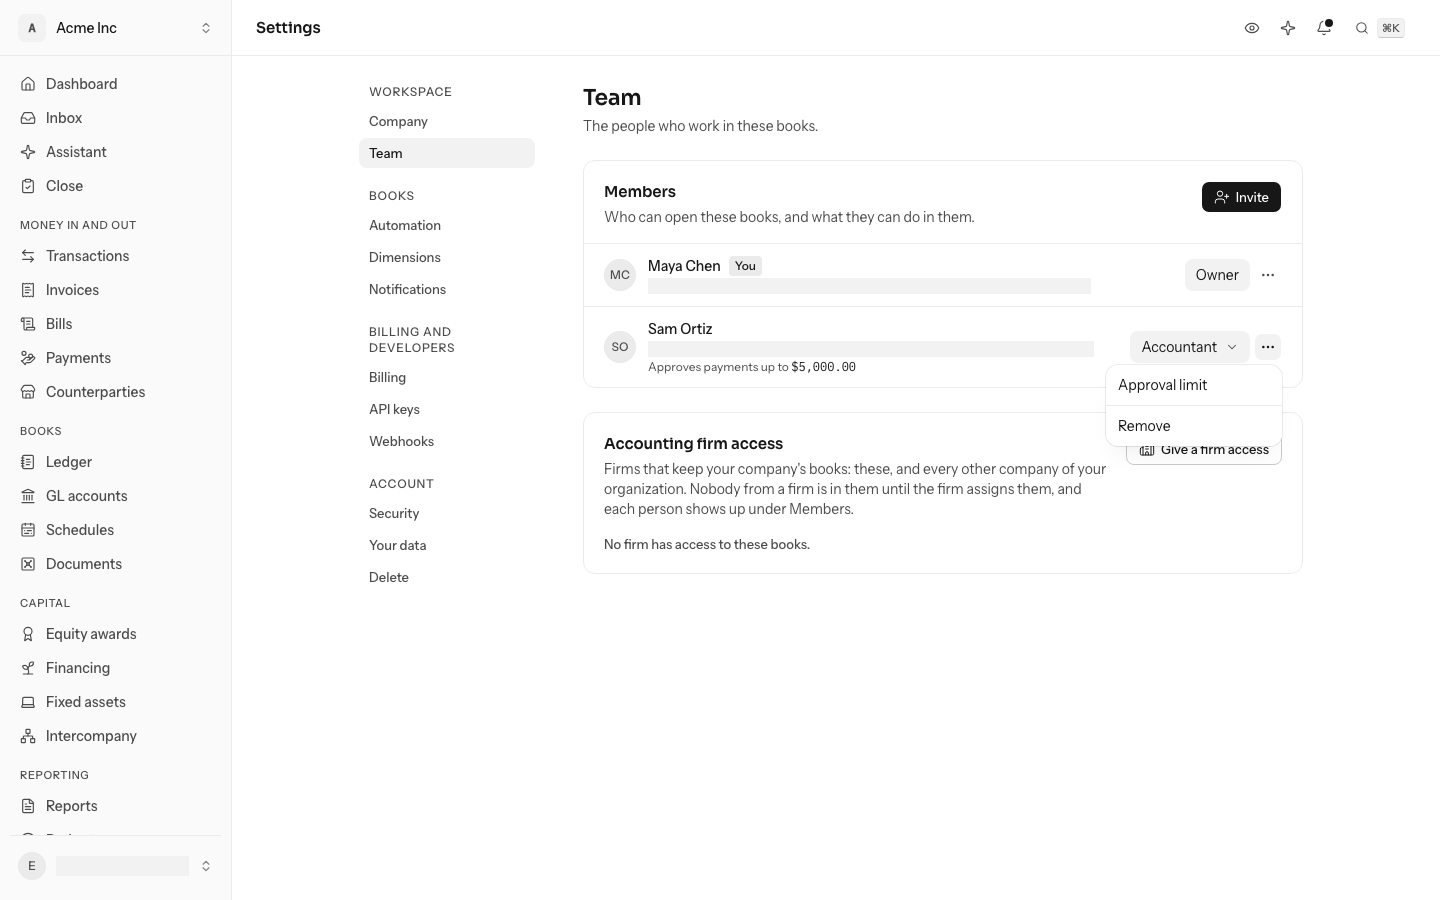
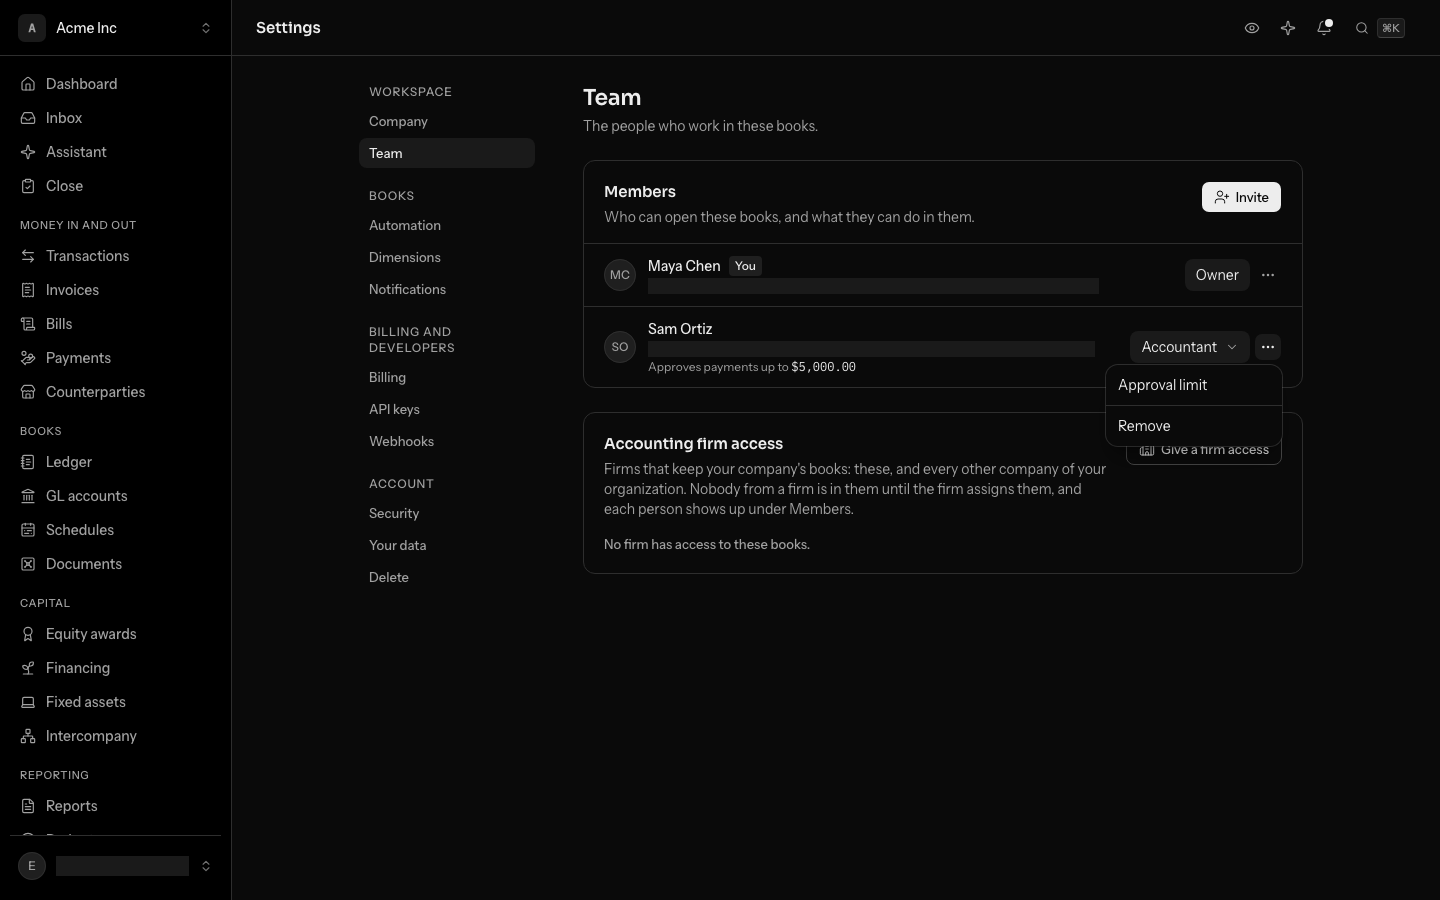
- In Settings, open Team and, under Members, open the menu at the end of their row (⋯) and choose Approval limit.
- Enter the most they may approve and pick its currency, then choose Save limit.
Their row then says Approves payments up to the amount. They may approve or reject a payment in that currency for up to that amount, in every set of books of your organization they open, whatever their role. A payment above it, or in another currency, waits for an owner or admin. To take it away, open Approval limit again and choose Remove limit. What they already approved stays approved.
Choose what notifications you get
Under Notifications, each kind of notice has a box per channel: In the app puts it in your bell, Email sends it to the address you sign in with, and Slack sends it to you as a direct message from the LedgerIt app. Tick any of them, or none. A kind with no box ticked is not sent to you at all, and nothing is held back for later. The choice applies in these books only.
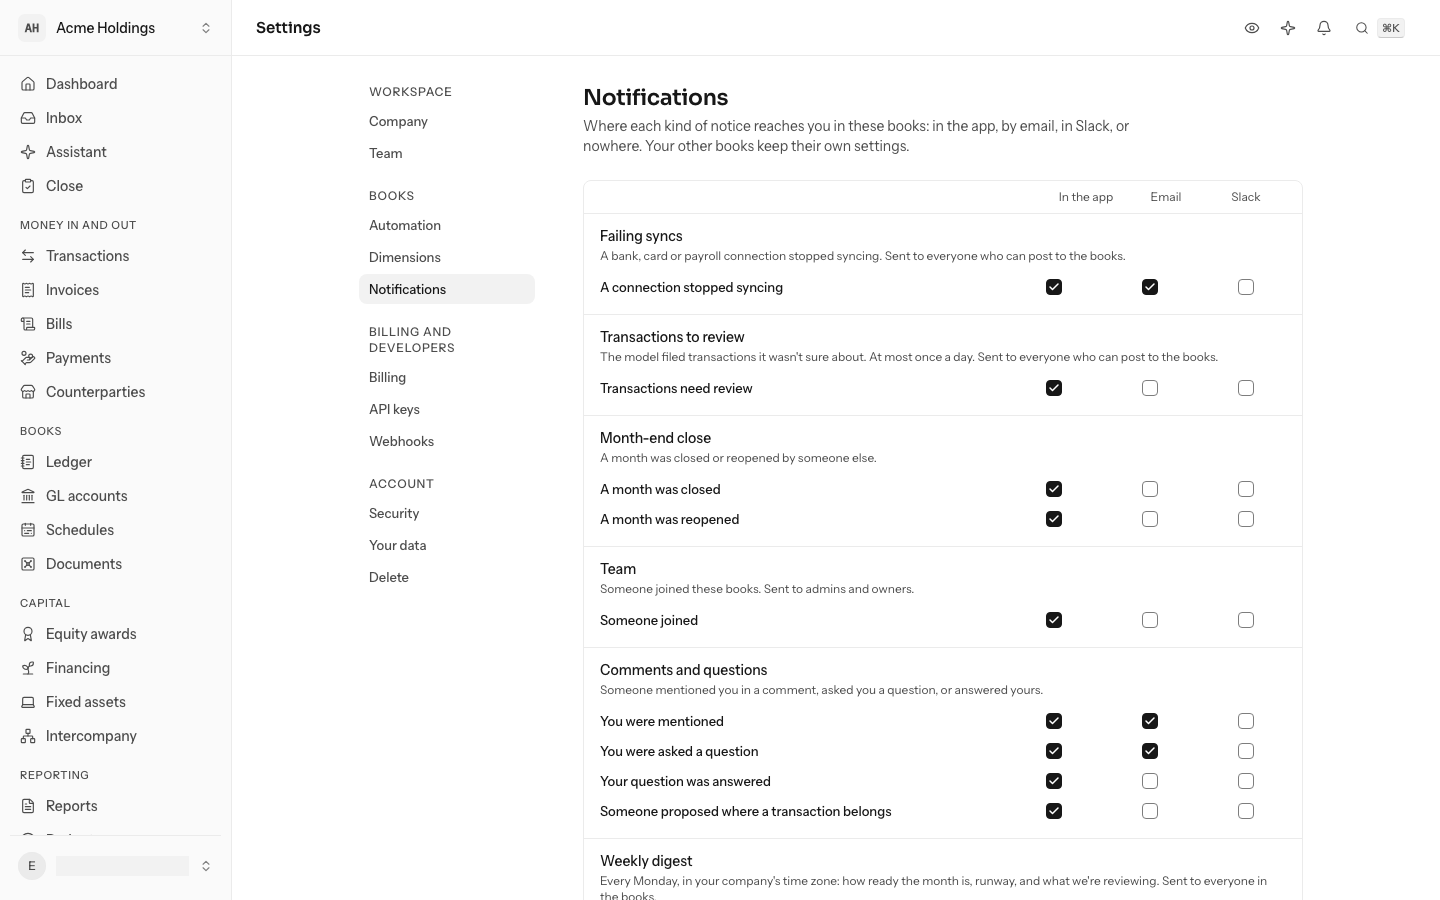
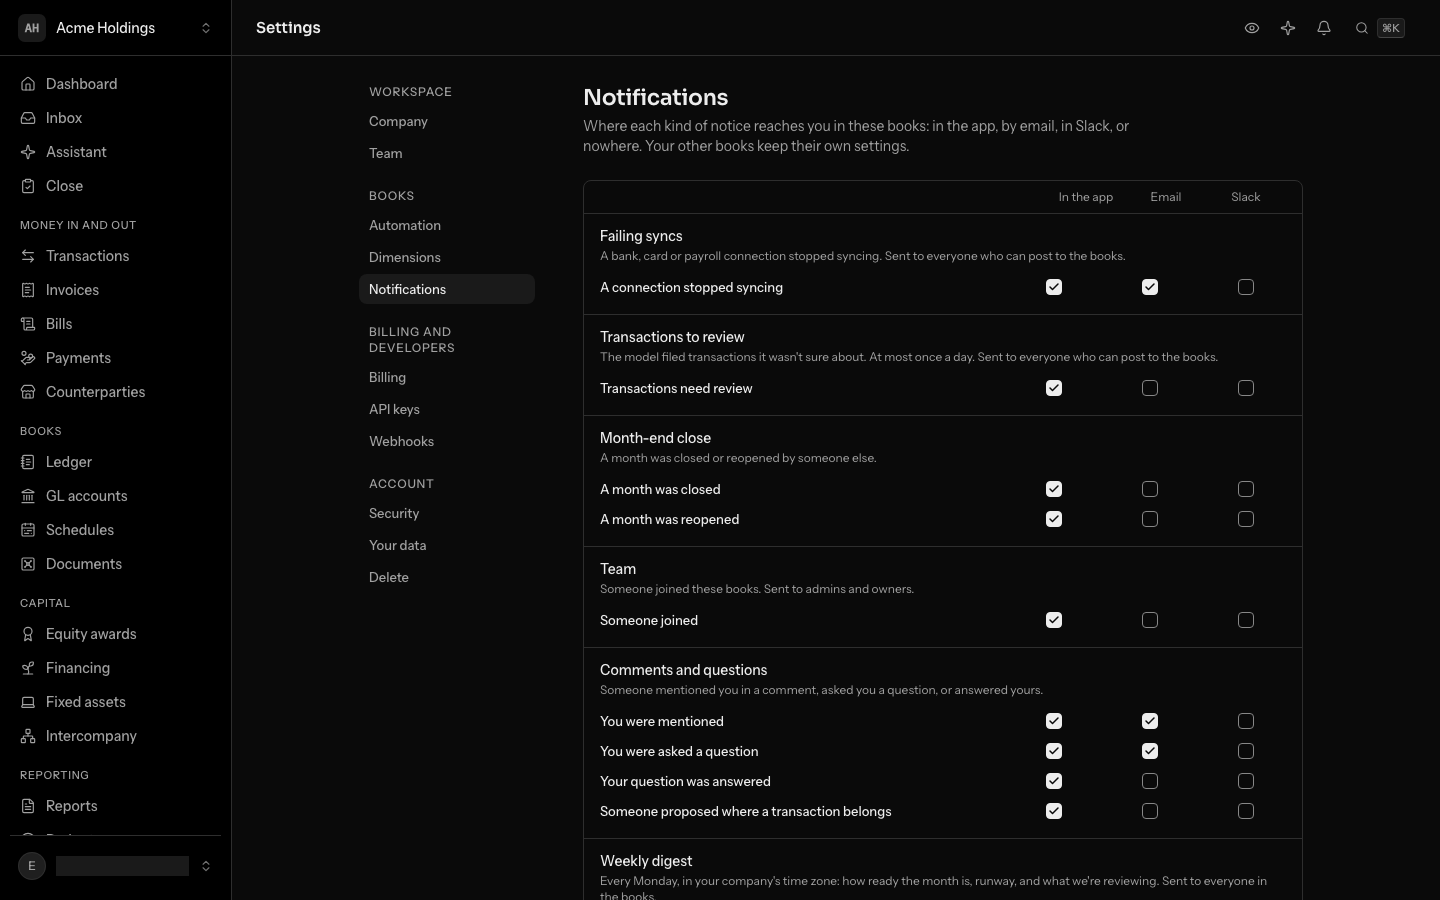
The Slack column appears once these books have a Slack workspace connected on Integrations. LedgerIt finds you in that workspace by the email you sign in with, so the two need to match. Until the workspace is connected, the page says so under the boxes.
The WhatsApp column appears once you link your number to these books under Settings, WhatsApp (see Use LedgerIt from WhatsApp). Only a missing receipt can go there, so the other kinds leave its box empty.
| Group | What is in it | Who it goes to |
|---|---|---|
| Failing syncs | A bank, card or payroll connection stopped syncing | Everyone who can post to the books |
| Transactions to review | The model filed transactions it wasn't sure about, at most once a day | Everyone who can post |
| Missing receipts | A card charge you spent has no receipt yet, once per charge | Only you |
| Month-end close | A month was closed or reopened by someone else | Every member |
| Team | Someone joined these books | Admins and owners |
| Comments and questions | You were mentioned, asked a question, or your question was answered; someone proposed where a transaction belongs | The people it names |
| Weekly digest | How the books stand, every Monday | Every member |
Until you change them, failing syncs, mentions, questions asked of you and the weekly digest come by email as well as in the app; a missing receipt goes to WhatsApp as well as the app, once your number is linked; everything else is in the app only. A failing sync is emailed once per outage. Other emails and Slack messages go out within a few minutes of the notice, with its title and details and a link back to LedgerIt. Slack is never on until you tick it.
A notice that books are scheduled for deletion always reaches every member's bell and can't be turned off. Every owner and admin also gets an email about it.
Read your weekly digest
Every Monday, LedgerIt sends each member of the books one notice called Your books this week, so nobody has to open the app to know where things stand. It says, one line each:
- whether last month is closed, or how ready it is to close;
- how ready this month is, and how many answers only you can give;
- what share of last month was processed automatically;
- how many months of runway the books show, or the cash when the company is not burning it;
- how many things the daily books checks noticed that we're reviewing. Those are in the Inbox, and most are for your accountant.
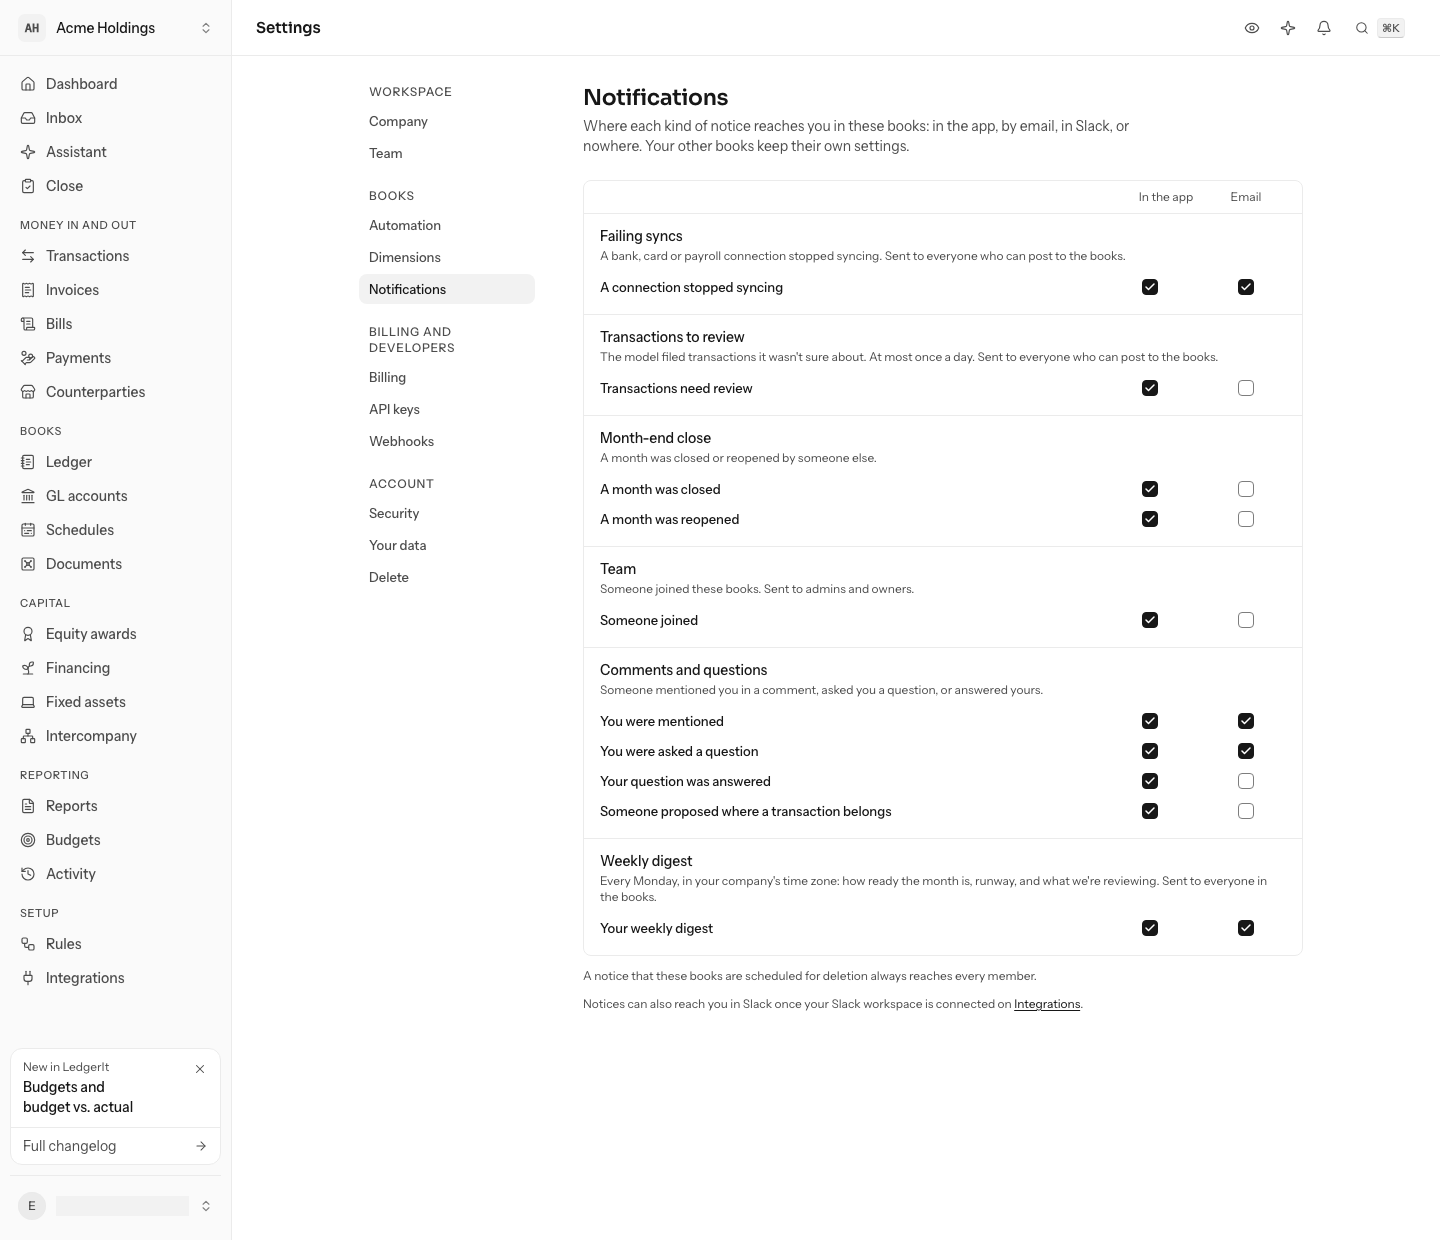
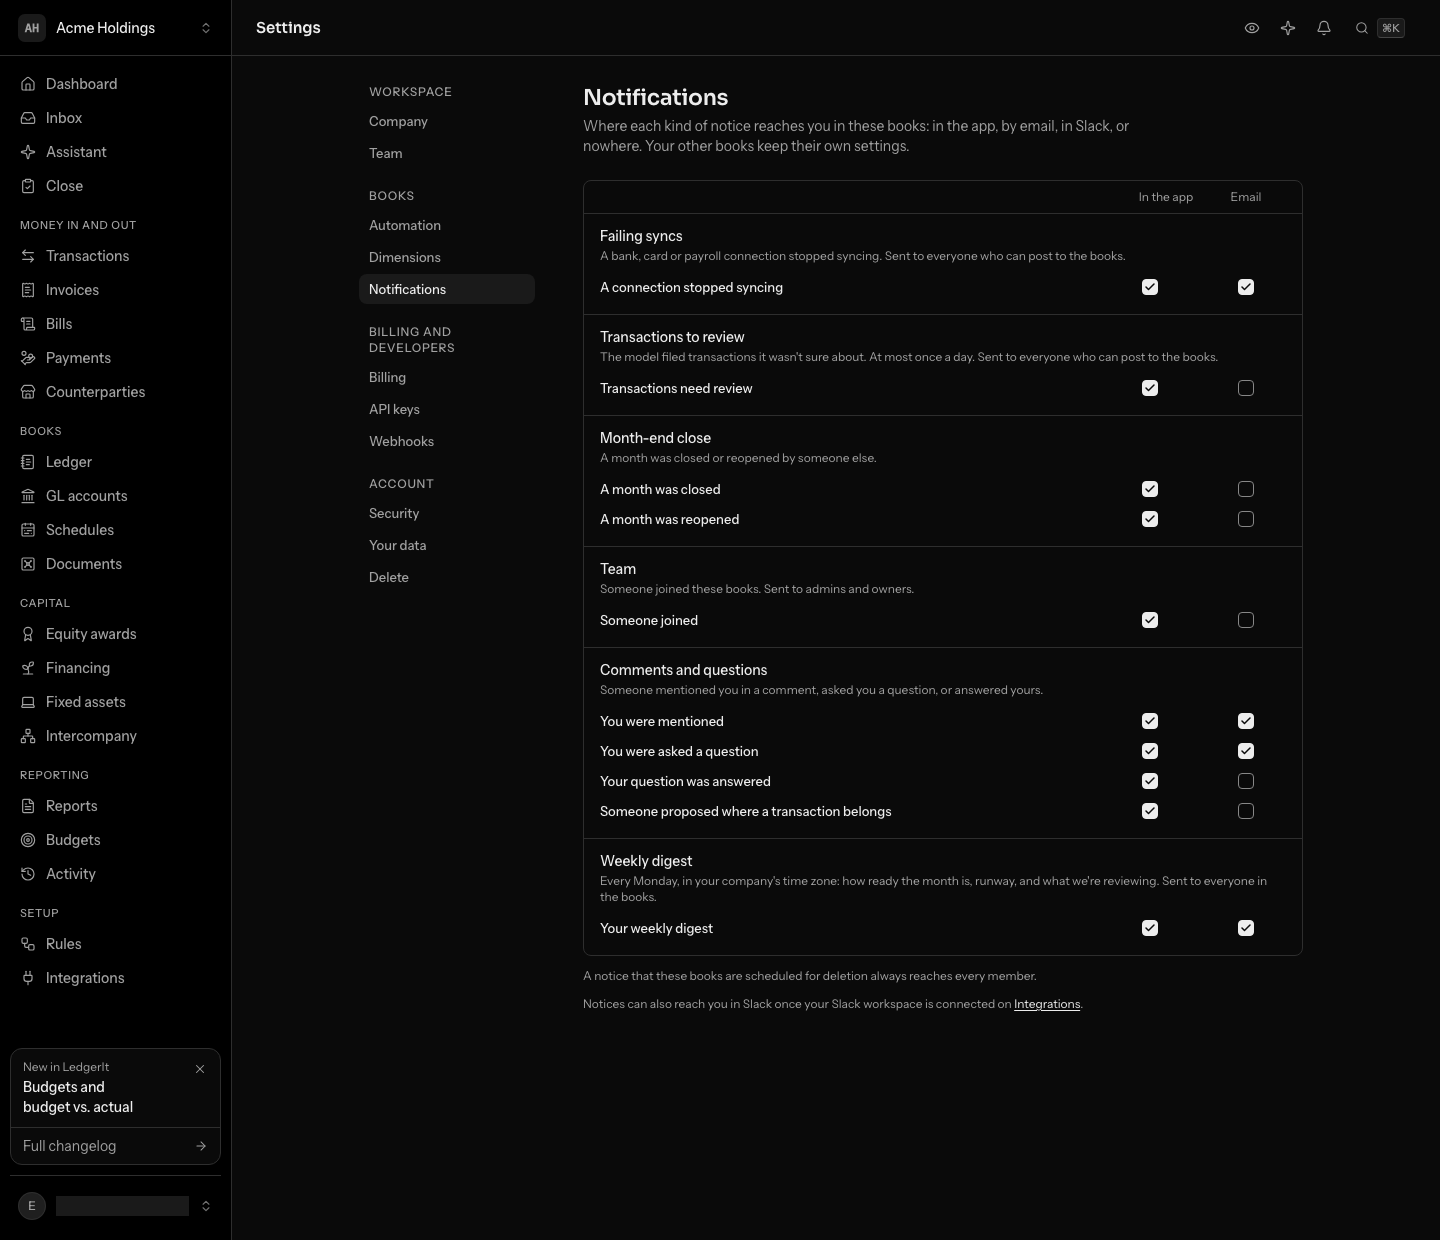
Opening it takes you to Your books on the dashboard. The digest goes out once a week, on Monday in your company's time zone. Until a time zone is set it is UTC, which is Sunday evening in the Americas; set it with the timezone field of the company through the API. Turn the digest off, or keep it in the app only, under Weekly digest in Notifications. Demo books and books scheduled for deletion get no digest.
The same digest, as the books stand right now, is in the API as GET /v1/books/digest.
Set how much is filed automatically
Automation sets how sure the model must be before its category for a transaction posts on its own, and the amounts above which a person always reviews. Only an admin or owner can change them. Rules and automation explains each limit.
Set up dimensions
Dimensions lists what the books are sliced by besides accounts, such as department or project, with the values of each. The chart of accounts explains how to add, rename and delete them.
Manage billing
Billing shows the plan your company is on and the monthly spend it is priced by. The owner starts a paid plan there, gives a YC batch, and opens Stripe for the card, invoices and cancelling. Billing and your plan explains each.
Create API keys
API keys let a script or an AI agent read and post to these books. A key acts as you, in these books only, and never does more than your role allows. Anyone in the books can create a key for themselves; admins and owners also see everyone's keys and can revoke any of them. API quickstart walks through it.
Choose a password
You don't need a password: an emailed link or a passkey signs you in without one. If you choose Prefer a password? Use one instead when you create your account, or Forgot password? when you sign in, the new password needs:
- 8 or more characters
- upper and lowercase letters
- a number
- a symbol, such as # or ?
The list sits under the password field and ticks off each rule as you type. If you submit before every rule is met, the missing ones turn red. LedgerIt also turns away any password that has appeared in a known data breach, even one that meets every rule. If that happens, choose a password you don't use anywhere else.
Add a passkey
Under Security, Add a passkey lets you sign in with your fingerprint, face or screen lock instead of an emailed link or a password.
Set up two-step verification
A few things in LedgerIt are hard to take back, so they ask for a code from an authenticator app (such as 1Password, Google Authenticator or Authy) as well as your sign-in:
- inviting someone, changing their role or approval limit, removing them, or handing ownership over;
- approving or rejecting a payment;
- creating an API key;
- connecting a bank, card, payroll or revenue account;
- deleting a set of books, or your account.
A code covers 15 minutes, so inviting three people takes one code.
The first time you do one of these, LedgerIt asks you to add an authenticator app: scan the QR code with the app (or enter the key shown under it by hand), then enter the 6-digit code it shows. After that, enter the app's current code when asked.
To add an app before you need one, open Security and choose Add an authenticator app under Two-step verification. To remove one, open the ⋯ menu beside it and choose Remove; you are asked for one more code from it first.
Once you have an authenticator app, changing how you sign in needs a code from it. If you signed in with a passkey or an emailed link, Passkeys asks you to Enter code before it lists your passkeys, and adding a passkey or a second app asks for a code from the app you already have first, then carries on.
See where you're signed in
Under Security, Where you're signed in lists every browser and device signed in to your account: which browser on which system, when it was last active, and the address it signed in from. The one you are using says This device.
- Choose Sign out beside a session you don't recognize, or one on a computer you no longer use.
- Choose Sign out everywhere else to sign out every session but this one, for example after losing a phone.
A session you sign out stops working straight away, on its next request; it does not wait for its sign-in to expire. Signing out on one device does not sign out the others.
Export everything and restore it
Your books are yours to take with you. Under Your data, Export books saves one file that holds all of them: the chart of accounts, departments and other dimensions, counterparties and every journal entry with its lines, reversals and edits included, in the order they were posted. It is a single JSON file with the trial balance the entries add up to and a checksum, so anyone can read it and check it. A counterparty's tax ID is in it only when the person exporting is an owner, admin or accountant.
An export restores into a new, empty set of books in the same currency.
- Open the empty books, go to Settings and open Your data.
- Under Restore from an export, choose Choose an export and pick the file.
- Check what it holds: the company it came from, the day it was exported, how many entries, accounts and counterparties, and its trial balance.
- Choose Restore.
Every entry is posted again and held to the same rules as a new one, and the restore finishes only when the restored books match the export's trial balance. An export that does not add up to its own trial balance, or books that already hold entries, are refused before anything is written, and the reason is shown. A large export takes minutes and is written in parts; if a restore is cut off, choose the same file again and it carries on where it stopped. Months are open after a restore, so close them again.
Anyone in the books can export. Restoring needs an owner or admin, and others do not see it. Both are also in the API.
Let LedgerIt learn from the assistant
Under Your data, Product insights is on by default. When it is on, LedgerIt reads a summary of each finished conversation with the assistant for things the product could not do: which tools were called and how they answered, in generic words, with email addresses, amounts, account numbers and identifiers masked. The product team sees the consolidated problems, never your conversations or your books. The assistant may then offer you a note to send; see Work with the assistant.
Switch it off and, from your next conversation, nothing of yours is read and no note is offered. It is your own setting, not the company's, and switching it back on takes effect the same way.
Delete books or your account
Deleting is permanent.
Delete these books is for owners only; type the company's name to confirm. The books stay read-only for 30 days so anyone in them can export from Reports, then are deleted for good. Until then an owner can choose Keep these books to cancel. You can delete straight away instead, but nothing can then be exported or recovered.
Delete your account removes your profile, passkeys, sign-in history and every membership, at once. Entries you posted stay in the books. If you are the only owner of some books or of an accounting firm, hand ownership over first. Books only you can open are deleted 30 days later.
Switch between accounts
If you have more than one LedgerIt login — say a work address and a personal one — you can stay signed in to all of them in the same browser and move between them without signing out.
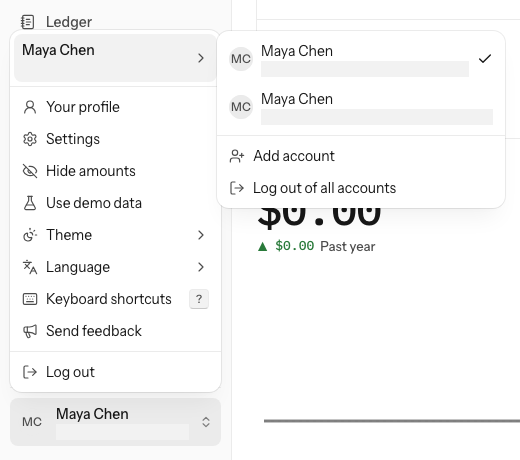
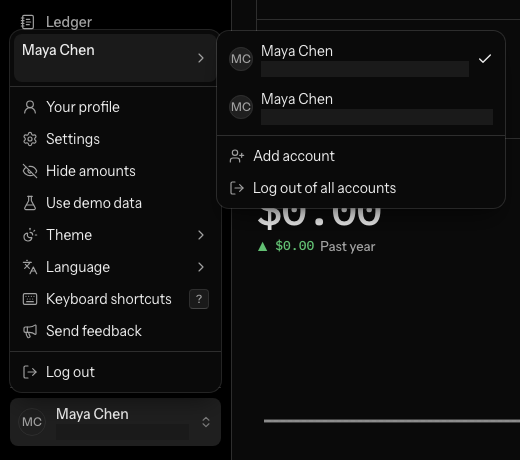
- Open the menu under your name at the bottom of the sidebar.
- Choose Add account, and sign in to the other account the way you usually do.
- To switch, open the same menu and choose your name and email at the top. Once more than one account is signed in, that row has an arrow and opens the accounts to the side, with a check by the one you are in; on a phone they open under it. Choose the account, and its books open where you left them. Add account and Log out of all accounts move there too.
The name at the bottom of the sidebar has the account's email under it, so you can tell which one you are in without opening the menu.
Log out signs you out of the account you are in and opens the next one signed in on this browser. Log out of all accounts, beside the list of accounts, signs you out of every one. If an account was signed out somewhere else, choosing it asks you to sign in to it again.
Do this through the API
Everything in this guide is also an API call, for scripts and agents. The reference lists each operation with its parameters and objects.
- CompanyThe company behind the books: its name, address and fiscal year.2 operations
- NotificationsWhat LedgerIt told the caller, and marking it read.4 operations
- Notification preferencesWhich kinds of notification the caller has turned off.2 operations
- BooksThe books as one archive, restored into empty books with the same trial balance, and each month's share of work done unattended and how ready it is to close.6 operations