Get started
Set up your books
Create your company's books in LedgerIt and connect your bank, cards, Stripe and payroll in two steps, then add the company's details whenever you like.
Setting up your books is the first thing you do in LedgerIt. It takes two steps: name the company, then connect what it runs on. Only the name is required, and LedgerIt fills it in from your work email when it can. Every other question is optional, asked on its own screens only if you choose to answer it now.
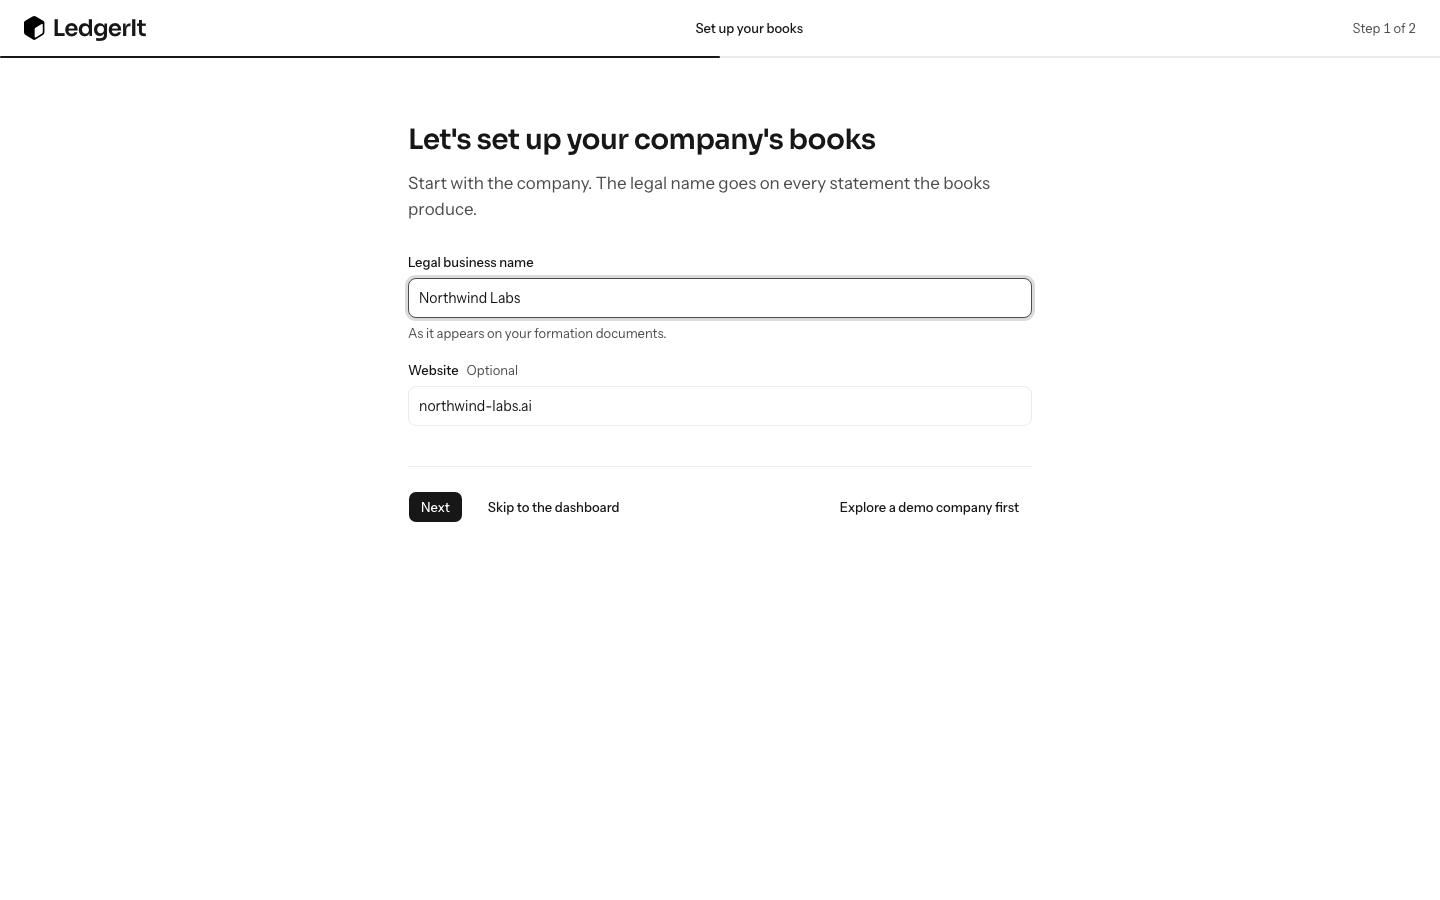
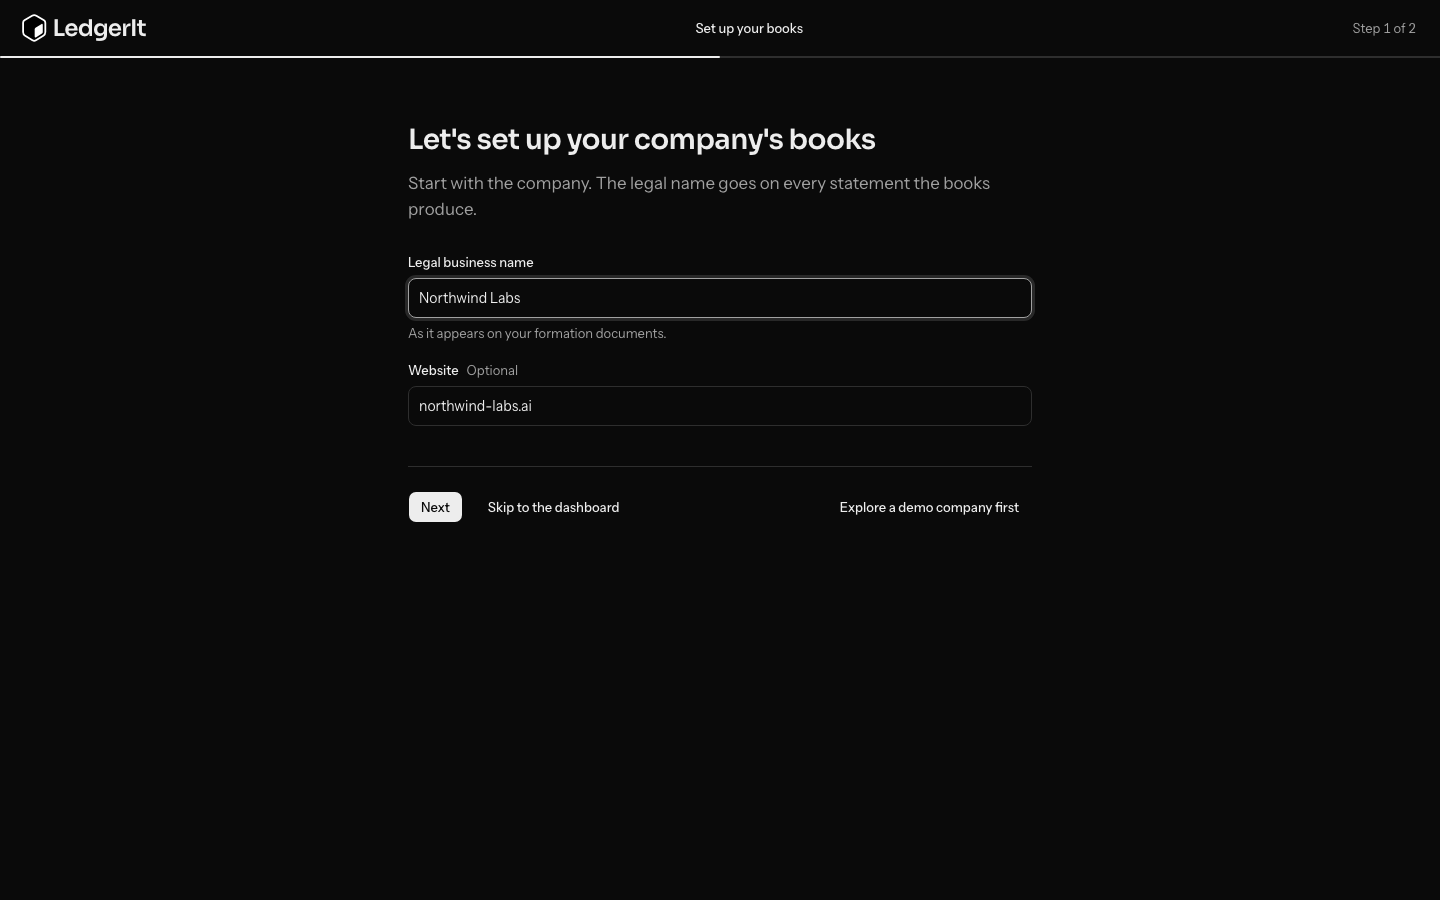
Let's set up your company's books
Required- Legal business nameAcme
- Websiteacme.com
Name the company. Filled in from your work email when it can be. Next creates the books, and you become their owner; Skip to the dashboard creates them and opens it.
Each answer saves as you move on, so you can close the tab and come back to the same question.
Name the company
The first screen, Let's set up your company's books, creates your books.
- Check the Legal business name. When you signed up with a work address, LedgerIt fills in the company's name and Website from its domain:
ana@northwind-labs.aibecomes Northwind Labs, at northwind-labs.ai. Correct the name to match your formation documents; it goes on every statement the books produce. - Choose Next.
The legal name is the only required answer in the whole set-up. Once you choose Next, the books exist, you become their owner, and LedgerIt saves your time zone and country from your browser so you are not asked for them.
Want to start right away? Choose Skip to the dashboard: the books are made under the name on screen (or "My company" if there is none) and the dashboard opens. You can rename them and answer everything else later.
Not ready to set up yet? Choose Explore a demo company first to look around a sample company's books instead, and come back to this screen when you are. See Explore the demo company.
Add the company's details
The questions in the next sections are optional, and off the way to your books. Choose Add company details on Connect your accounts to answer them now; each screen has Skip for now, and the last one brings you back to connecting your accounts.
Review your company's details asks where the company files taxes from and what kind of company it is. Every field is optional:
- Company logo — shown beside the company's name across LedgerIt. A square PNG, JPEG or WebP works best.
- Business phone, Business email and Business address.
- Industry, Stage and Team size.
- Tax classification — what the company's income tax return is filed as, such as C corporation or LLC.
- State of incorporation and Incorporation date — where and when the company was formed, as on its certificate of incorporation.
- Fiscal year ends in — December if your year follows the calendar.
- EIN — the nine-digit number the IRS assigned, or your local tax id outside the US. Tick We don't have an EIN yet if you are still waiting for it.
Choose Next, or Skip for now to come back later.
Say where the books start
Where do the books start? sets the first day of your books. Nothing dated before it is brought in from a bank, card or payroll provider. Choose one:
Connections bring in what happened from this day on. Anything you already owned or owed then goes in as opening balances.
- We're a new company — the books start the day the company was incorporated. Enter the Incorporation date if you skipped it on the previous screen.
- Our books start on a date — pick the First day of the books. Enter anything you already owned or owed on that day as opening balances.
- We're moving from QuickBooks or Xero — pick The day you switch to LedgerIt, then enter what your old books held the day before as opening balances, under Ledger.
The date cannot be later than today. Choose Next, or Skip for now to bring in each connection's full history instead: up to about 13 months.
Tell us about you
Next, a few details about you takes your first name, last name, phone, What do you do there? (for example Founder or CEO, Finance, or Accountant or bookkeeper) and a profile picture. They help the people you invite know who set the books up.
Bring your team in
Bring your team in lets you invite the people you work with, by email. Both are optional.
- Your co-founder's email address: they join as an admin, who can do everything you can except billing and handing ownership over.
- Your accountant's email address: they join with the accountant role, which means they can:
- review what the rules and the model filed,
- sign off each month's close,
- prepare statements for your board and investors.
Enter an address and choose Send invitation. You can invite more than one of each. If your accountant works at a firm with its own LedgerIt account, connect the firm later instead; see Work with an accounting firm.
Inviting someone asks for a code from an authenticator app; the first time, LedgerIt walks you through adding one. See Set up two-step verification.
Say how you keep receipts
How does the company keep receipts today? offers four answers: paper, digital, both, or none. LedgerIt explains what happens with your choice. Receipts you add to Documents are matched to their card charges, and Brex and Ramp send the receipts your team attaches to card charges. See Documents and receipts.
Choose what you want to do
What do you want to do in LedgerIt? lists nine goals, such as Bring in bank and card transactions, Close the books every month and Recognize revenue from Stripe. Choose all that apply. Your choice decides which kind of account the next step suggests connecting first.
Choosing Next (or Skip for now) here takes you back to Connect your accounts. If an earlier answer failed to save, LedgerIt sends you back to that step first, so nothing is lost.
Connect your accounts
Connect your accounts comes straight after naming the company. It puts everything the books read from on one screen, in up to five sections:
- RevenueSuggestedCharges, refunds, fees and payouts, with subscriptions recognized month by month.Stripe
- BankEvery transaction as it posts, filed as it arrives.Mercury
- CardsCard spend with the receipts your team attaches to it.BrexRamp
- PayrollEach pay run, split by department.GustoDeelRippling
- EmailThe receipts of charges that have none, found in your Gmail or Outlook.GmailOutlook









Revenue comes first: you chose revenue from Stripe and not bank feeds.
| Section | What it brings in |
|---|---|
| Bank | Every transaction as it posts, filed as it arrives. File upload imports a CSV or OFX statement for a bank with no connection. |
| Cards | Card spend, with the receipts your team attaches to it. |
| Revenue | Stripe's charges, refunds, fees and payouts, with subscriptions recognized month by month. |
| Payroll | Each pay run, split by department. |
| The receipts of charges that have none, found in your Gmail or Outlook. Listed when connecting a mailbox is available to you; see Find receipts in your mailbox. |
The section marked Suggested comes first: Revenue if you chose revenue as a goal and not bank feeds, Payroll if you chose payroll and not bank feeds, and otherwise Bank, because no set of books works without its cash.
- Choose a provider in a section, for example Mercury under Bank.
- Approve access with the provider, or enter what its form asks for.
- Connect as many as you like. Each one is listed under Connected.
Each connected account brings in its history in the background, and the screen shows how much is in ("63% of its history in, back to June 3, 2026"). You do not have to wait: choose Go to the dashboard whenever you like, and the history keeps arriving. You can also connect later; see Connect your bank, cards and apps.
Connecting an account asks for a code from an authenticator app; see Set up two-step verification.
Find your way around
The sidebar lists every part of LedgerIt in sections: Money in and out, Books, Capital, Reporting and Setup. Select a section's name to fold it away, and select it again to open it. A folded section still shows the page you are on, and this browser remembers which sections you folded.
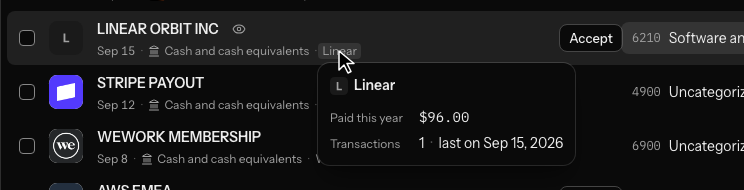
Every account, vendor, customer, month, provider, transaction, journal entry, rule, bill and invoice named on a screen is a link to its own page. Rest the pointer on one for half a second and a card opens with what you most likely wanted to know: an account's type and balance, what a vendor was paid this year and when it last charged you, a month's close and what is in the way of it.
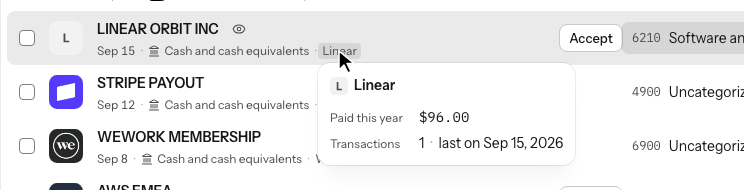
Select the name to open the page. On a phone or tablet there is no card: a tap opens the page.
Finish setting up with Get started
Until the books are set up, an owner or admin sees Get started at the foot of the sidebar, with how many steps are done ("2/5"). Each step is ticked by what is in the books, not by a click, and selecting a step takes you where it is done:
- Connect your bank: a bank, card, payroll or revenue connection.
- Connect your email: a Gmail or Outlook mailbox, searched for missing receipts. Listed only when connecting a mailbox is available to you.
- File your first transaction.
- Invite your team: someone else on the books, or an invitation sent.
- Close your first month.
Once every step is done, the checklist goes away.
Who can finish the set-up
Only an owner or admin of the books can answer these questions, because they change the company's profile. If you were invited to books that are already set up, you go straight to the dashboard.
What to do next
- Review your first transactions: Review and file transactions.
- Understand the figures on your home screen: Read your dashboard.
- Change any answer later: Settings and your team.
Do this through the API
Everything in this guide is also an API call, for scripts and agents. The reference lists each operation with its parameters and objects.